Kirjeldus
Tootemudel
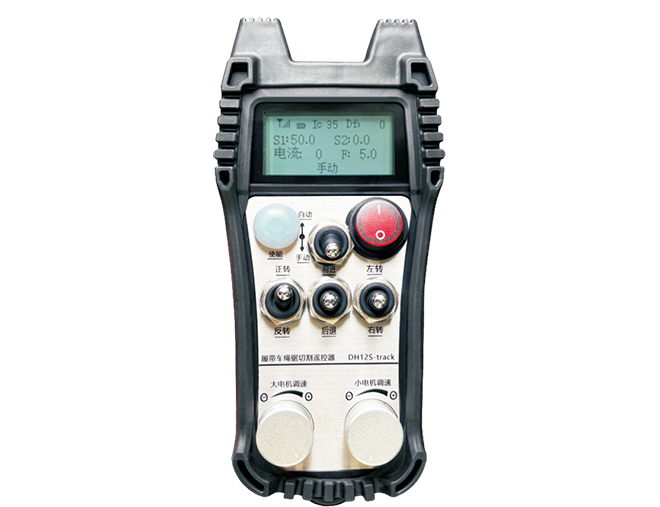
Mudel: DH12S-LD
Kohaldatavad seadmed:Roomajuhi saemasin
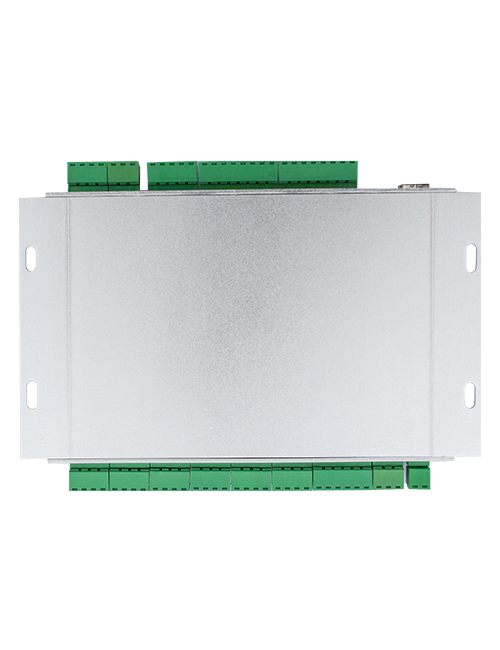
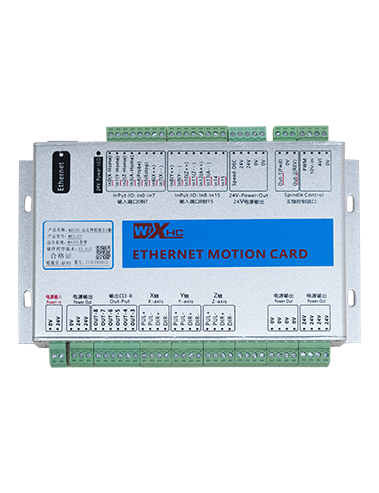
Tootetarvikute skeem
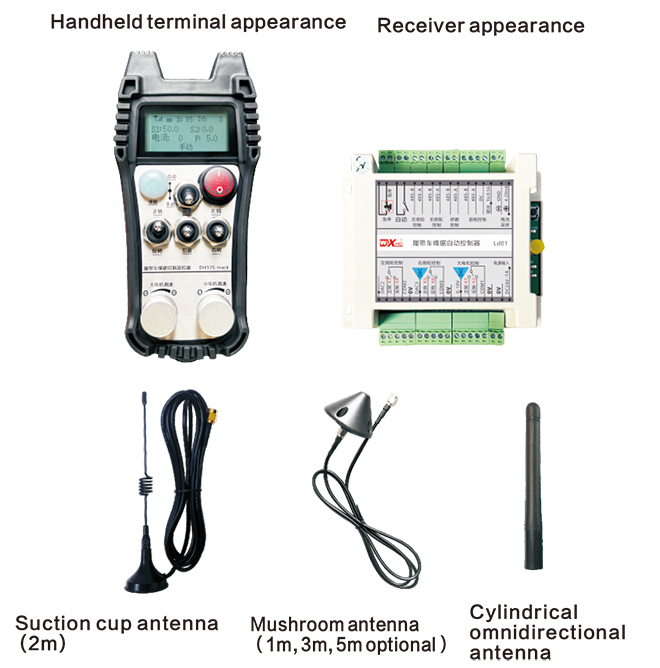
Märge: Võite valida ühe kolmest antennist. Imesinaste antenn on vaikimisi standardne.
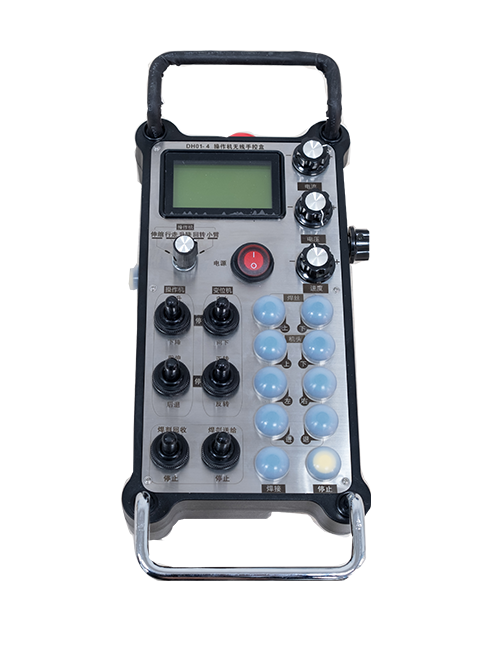
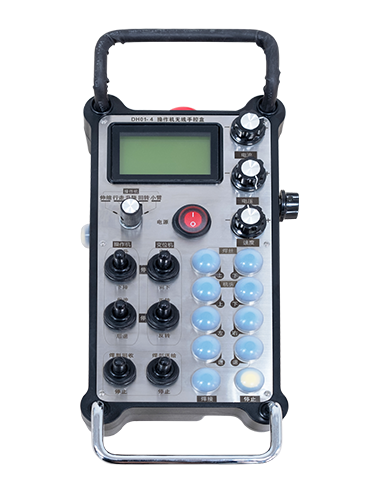
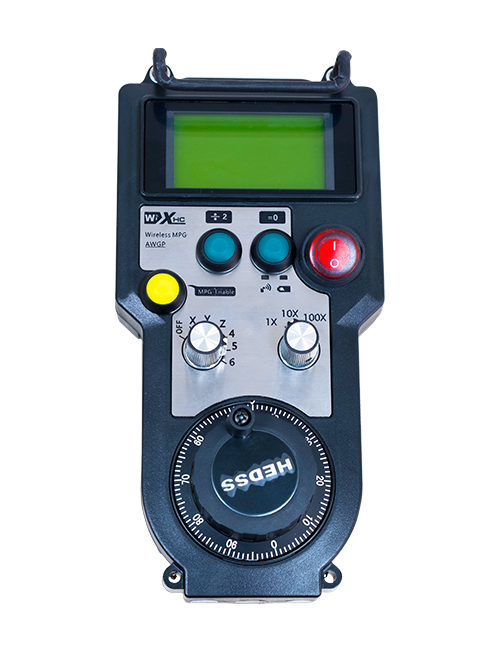
Kaugjuhtimispuldi lüliti kirjeldus
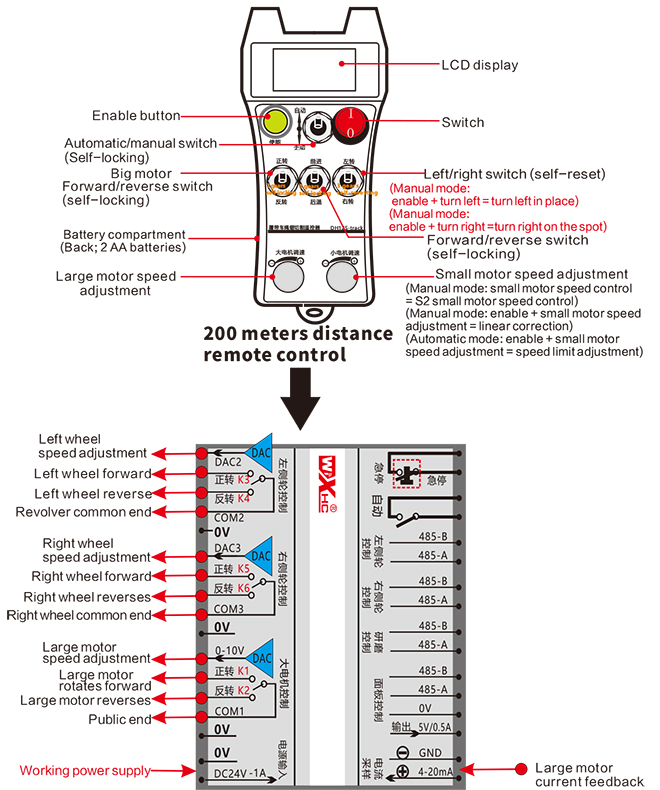
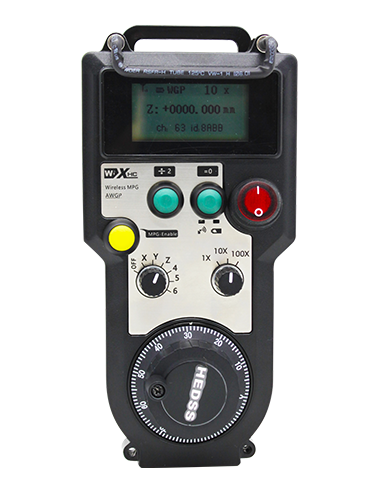
DisplayContent Sissejuhatus

Suur motoorne kiirus:S1:0-50
Väike mootori kiirus: S2: 0-50
MaksimumSpeedLiMitofautomaatiline CUTSMALMOTOR:F:0-30(parameetritega reguleeritav)
Automaatne lõikamine maksimaalne vool: Ic: 0-35 (parameetrid reguleeritavad)
Lineaarne parandusväärtus: Df: -99-99 (1 Üksus on umbes 0,02 V)

Madalpinge: Kaugjuhtimispult on liiga madal, Palun asendage aku.

Võrk langes: Traadita signaal katkestatakse. Palun kontrollige vastuvõtja võimsust, Lülitage see uuesti sisse, ja taaskäivitage kaugjuhtimispuldi.
Kaugjuhtimisfunktsiooni toimimisjuhised
1.Lülitage kaugjuhtimispuldi sisse
Kui on sisse lülitatud, RF-juhitud tuli vastuvõtjal hakkab vilkuma;Paigaldage kaks AA patarei Threceiver E kaugjuhtimispuldi, Lülitage toitelüliti sisse, ja ekraan näitab mootori kiirust, mis näitab edukat käivitamist.
2.Suur mootor ja kiiruse reguleerimine
Keerake “edasi/tagurpidi” Lülitage edasi, Vastuvõtja suur mootor lülitub sisse, ja ekraan kuvatakse edasi
Keerake “edasi/tagurpidi” Lülitage tagurpidi, Vastuvõtja suur mootor lülitub tagurpidi sisse, ja ekraan näitab tagurpidi
Pöörake “Suur motoorse kiiruse reguleerimine” Nupp vastuvõtja suure mootori kiiruse reguleerimise väljundpinge reguleerimiseks 0-10 V;
3.Väike mootor ja kiiruse reguleerimine
Liigutama “edasi/tagurpidi” Lülitage edasi, Vasak ratas edasi ja parempoolne ratas on sisse lülitatud, ja ekraan kuvatakse edasi
Keerake “Edasi/tagurpidi” Lülitage tagurpidi, Vasak ratta tagumine ja parempoolne ratas on sisse lülitatud, ja ekraanil kuvatakse tagurpidi
4.Turn left and right
Keerake “Left/Right” switch to left, the receiver’s right wheel will forward and turn on,and the display will show left
Keerake “turn left/right” switch to turn right, the left wheel of the receiver will forward and turn on, and the display will show turn right
5.Turn in place
In manual mode:
Turn left in place: Press and hold the “Enable” button, turn the “Left/Right Turn” switch to left, the left wheel backward and right wheel forward of the receiver are turned on,and start turning left in place;
Turn right in place: Press and hold the “Enable” button, turn the “Left/Right Turn” switch to right, the left wheel forward and right wheel reverse of the receiver are turned on, and the receiver starts to turn right in place;
6.Small motor speed limit adjustment
In automatic mode: press and hold the “Enable” button and rotate the “Small Motor Speed Adjustment” to adjust the maximum speed of the small motor during automatic cutting;
7.Automatic cutting
The first step is to start the big motor; the second step is to switch the mode switch to “Auto”; the third step is to start the small motor and the screen will display “Cutting Auto”,indicating that it has entered the automatic cutting mode;
8. Straight line correction
When the left and right walking motors are moving forward and backward, the left and right speeds are inconsistent, and the straight-line walking deviates. You can use the linear correction function of the remote control to fine-tune the speed of the left and right wheels;
Correction principle: Through the correction function, the speed of the left wheel is fine-tuned to reach the same speed as the right wheel, so as to synchronize the speed of the left and right wheels and eliminate the deviation;
Deviation correction operation method: In manual mode, press and hold the “Enable” button and rotate the “Small Motor Speed Regulation”;
Rotate clockwise to increase the left wheel speed voltage and the correction value on the display screen will increase;
Rotate counterclockwise to reduce the left wheel speed voltage and the display correction value to decrease;
Correction range: Correction value -90 juurde 90; correction voltage of one correction unit is about 0.02V;
9. Parameter menu (users are prohibited from modifying it without permission)
Some functions of the remote control can be adjusted through parameters. In manual mode, when the small motor speed S2 is 10, push the forward/reverse switch up three times in a row, and then push it down three times in a row to enter the parameter menu;
Exit the parameter menu: Valige salvestada või mitte salvestada, Seejärel vajutage väljapääsu kinnitamiseks nuppu Luba;
Maksimaalne vool: Lõikemootori töökohaga vool on 80% sellest praegusest;
Kiiruse juhtimise parameetrid: Automaatsed lõikamisjuhtimisparameetrid, täitmata jätmine 800, Muutmine on keelatud;
Aeglustumisparameeter: Automaatne lõikamise juhtimisparameeter. Kui lõikamisvoolumuutuse väärtus ületab seda väärtust,Algamine algab.
Kiirendus A1: Automaatne lõikamise juhtimisparameeter, Kui lõikamisvool on madalam kui komplekti lõikevool, Kiirenduse kiirus;
Aeglustumine A2: Automaatne lõikamise juhtimisparameeter, Kui lõikamisvool on komplektist kõrgem
lõikevool, aeglustumise kiirus;
Automaatne nuga tagasitõmbamine: kehtetu;
Alustage ise: 0, Eneselukkumine pole; 1, iseluguv. Vajutage klahvi lubage + edasi ja tagurpidi, et jõustuda ja eneselukustada.
Maksimaalne kõndimine: väikese mootori maksimaalne kiirus.
Lõikevool: set the maximum current of the main motor for automatic cutting. If the feedback current exceeds this value, it will start to decelerate.
Default speed limit: the default maximum speed of automatic cutting speed when turning on the machine.
Automatic mode: 0, the automatic switch is automatically controlled; 1, the automatic switch controls the automatic IO output point.
Speed limit offset: the maximum speed of the small motor during automatic cutting.
Maximum host: maximum speed of large motor.
Remote control electrical characteristics

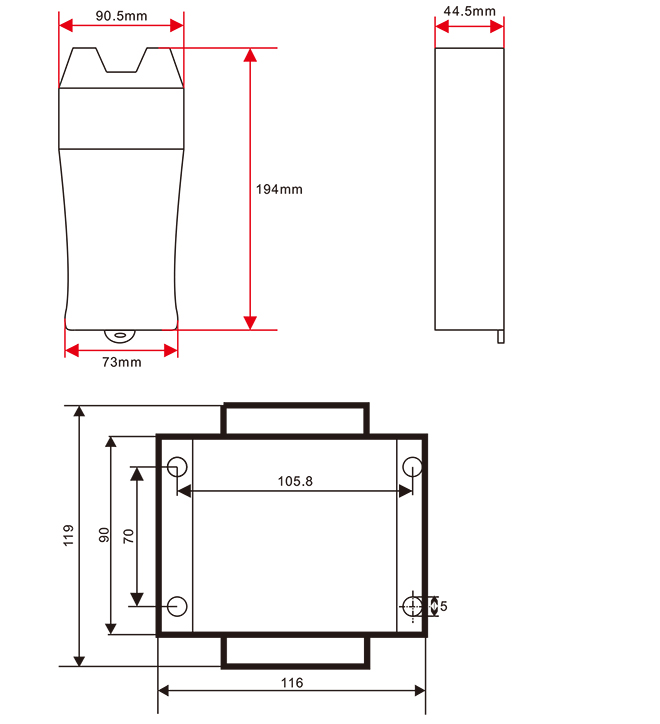
Remote control size
The final interpretation right of this product belongs only to our company.